
DIY Photo Transfer on Wood
The newest of the Mother's Day creations is the wood block photos I made for my mom a couple weeks ago!
This was my first try and I have to say, it went better than expected!
Here's the photo tutorial on how to transfer a photo onto a block of wood.

You will need:
1. Mod Podge & A Paintbrush
2. Glossy Gel Medium (I got this at a craft store)
3. Two Laser Printed Photos (Not your at-home printer, but the big ones they have at work or in libraries)
4. Two wooden blocks (I cut these to measure 4x6 like my pictures)
Step 1: Brush on the Gel Medium to one side of your photos, then brush it onto the piece of wood. Nice coats, nothing too thick, but make sure you don't miss anything!
Step 2: Stick the picture onto the piece of wood and try to rub out all the air bubbles and get it really good and stuck on there.
NOW, WAIT 24 HOURS FOR THE GEL MEDIUM TO HANG OUT AND DRY.

Step 3: Wet a wash cloth and rub it all over the back of the photo. After it's good and wet, begin rubbing the excess off of the back. This can take a little while.
(Mine would rub off completely, but then I'd have to re-wet it and rub off another layer)

Step 4: Let your woodblocks dry and then begin painting your Mod Podge onto the block to give it a glossy finish. If you don't want to use Mod Podge, I'm pretty sure you can just use the same Gel Medium you used before!


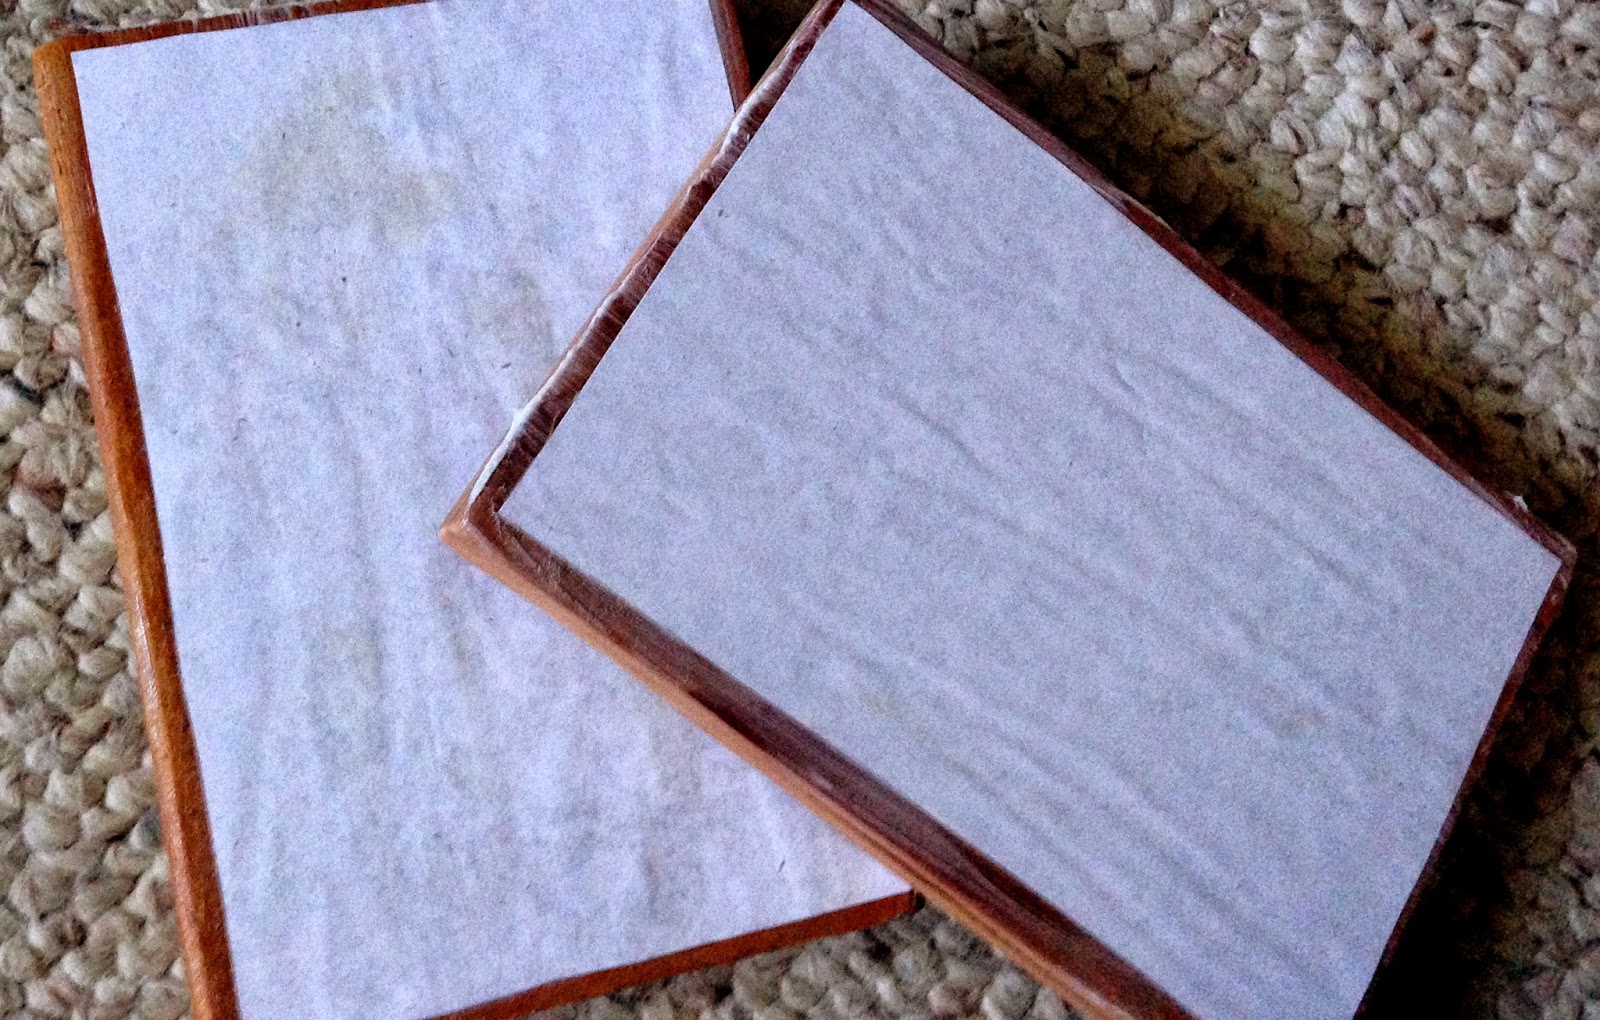
Step 5: Let them dry awkwardly.

And there you have it, folks!


No comments: